My DIY Initial Napkins!
24 February 2026
6:47 PM
Hi y'all! Happy Friday! I wanted to tell you about a project that I worked on this weekend. I decided to turn some very boring napkins into a statement piece for my new farm house table!
I am so excited about this project because it has been a loooong time since I have painted on fabric. I think the last time I did was to make really bad puffy paint 80's sweatsuits when I was 7, so I am shocked that it turned out so well!
Here is what I used to make them...
Here are some close up view of the napkins...
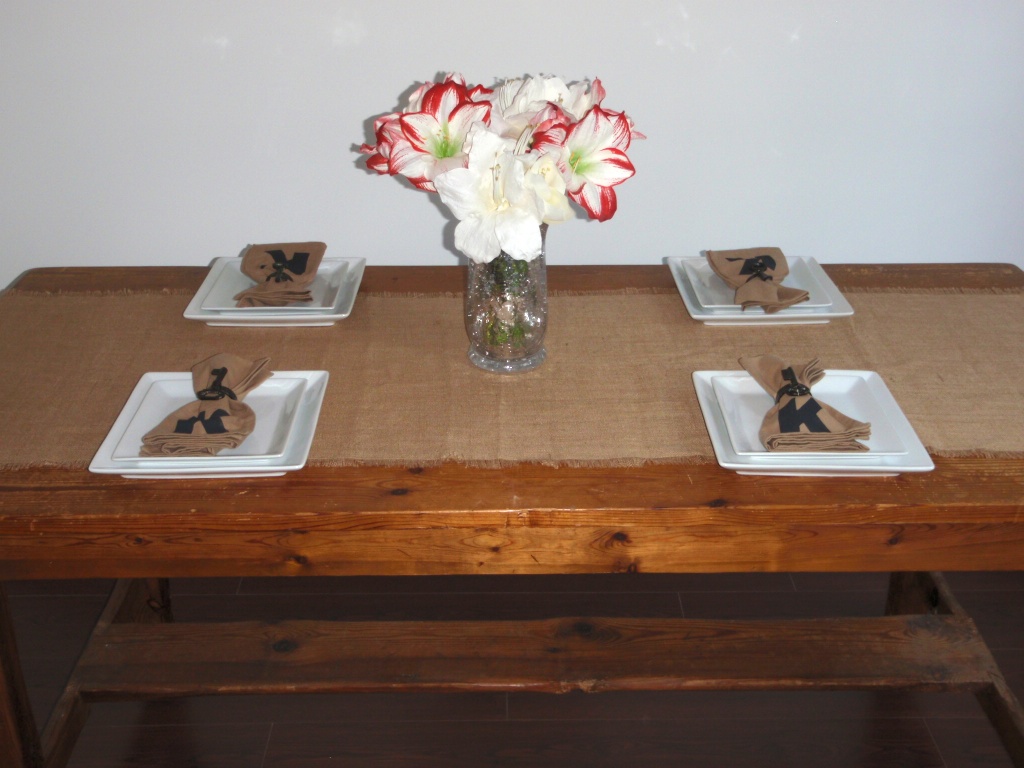
Here is a view of my farm table with the napkins...I found the table at this amazing vintage store in Fort Lauderdale called Decades. It was love at first sight! Right now it is kind of floating by itself in our Florida room with no chairs, but Kris and I are going to add built in seating very shortly. I can't wait to see how this space transforms!
I hope you have a fabulous Friday!
xo
Meggan
I am going to be linking to these parties this week:
French Country Cottage: Feathered Nest Friday
Tatertots and Jello Weekend Wrap Up Party
I am so excited about this project because it has been a loooong time since I have painted on fabric. I think the last time I did was to make really bad puffy paint 80's sweatsuits when I was 7, so I am shocked that it turned out so well!
Here is what I used to make them...
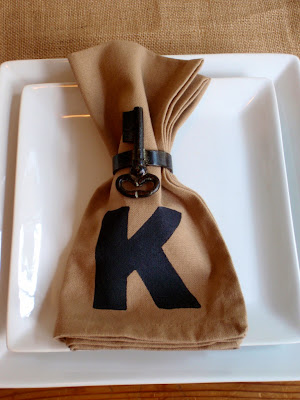
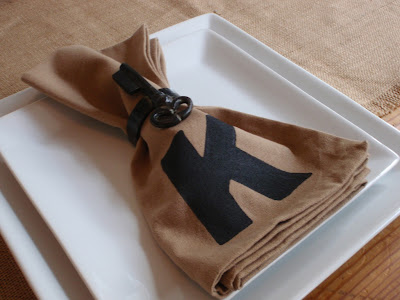
- Neutral color napkins (I got mine from Kohls for free because I had some store credit, but they would have been $1.60 each)
- Black fabric paint from Michaels
- Foam brush
- Large 4 inch alphabet stencil from Michaels
- Tape
Here are some close up view of the napkins...


Here is a view of my farm table with the napkins...I found the table at this amazing vintage store in Fort Lauderdale called Decades. It was love at first sight! Right now it is kind of floating by itself in our Florida room with no chairs, but Kris and I are going to add built in seating very shortly. I can't wait to see how this space transforms!
I hope you have a fabulous Friday!
xo
Meggan
I am going to be linking to these parties this week:
French Country Cottage: Feathered Nest Friday
Tatertots and Jello Weekend Wrap Up Party
Vintage Spring Soiree - Party & Fashion
21 February 2026
5:37 PM
I saw the most beautiful party idea today at Kara's Party Ideas - it was a Vintage Patisserie Paris Bridal Shower and every detail was just perfect! I immediately wanted to host a party with this theme.
Here are some of the fabulous details from this party...
Here are some of the fabulous details from this party...
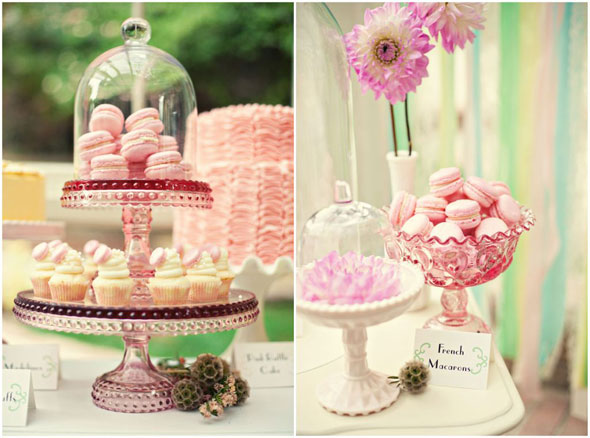 These French macaroons are so cute!
I love the pink color and serving stand/bowls.
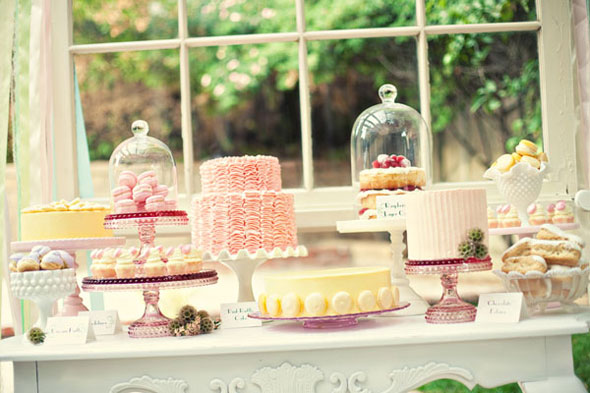 This table scape is so perfect and romantic. Don't you love the pink ruffle cake!?
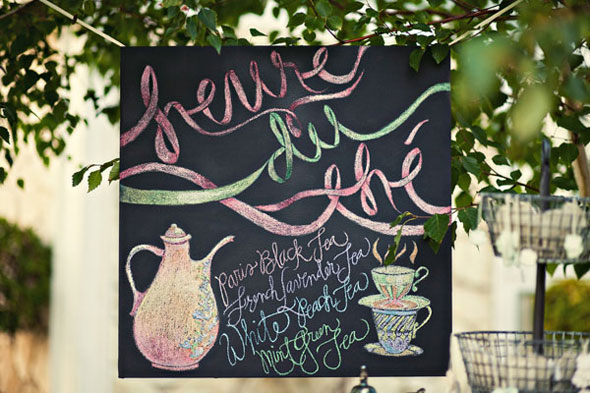 I looove this sign. The perfect finishing touch!
Of course now that I have found a party that I need an excuse to host, I had to find my perfect, dream outfit for this party! I just discovered Polyvore and used it to put together the below called Vintage Spring Soiree!

Entry Way Makeover and Music Sheet Medallion Tutorial
16 February 2026
7:36 PM
 Hi there! I hope you had a wonderful weekend! It's hard to believe that its almost over. We worked on the house quite a bit this weekend...it is so fun to see each room transform with every project and coat of paint!
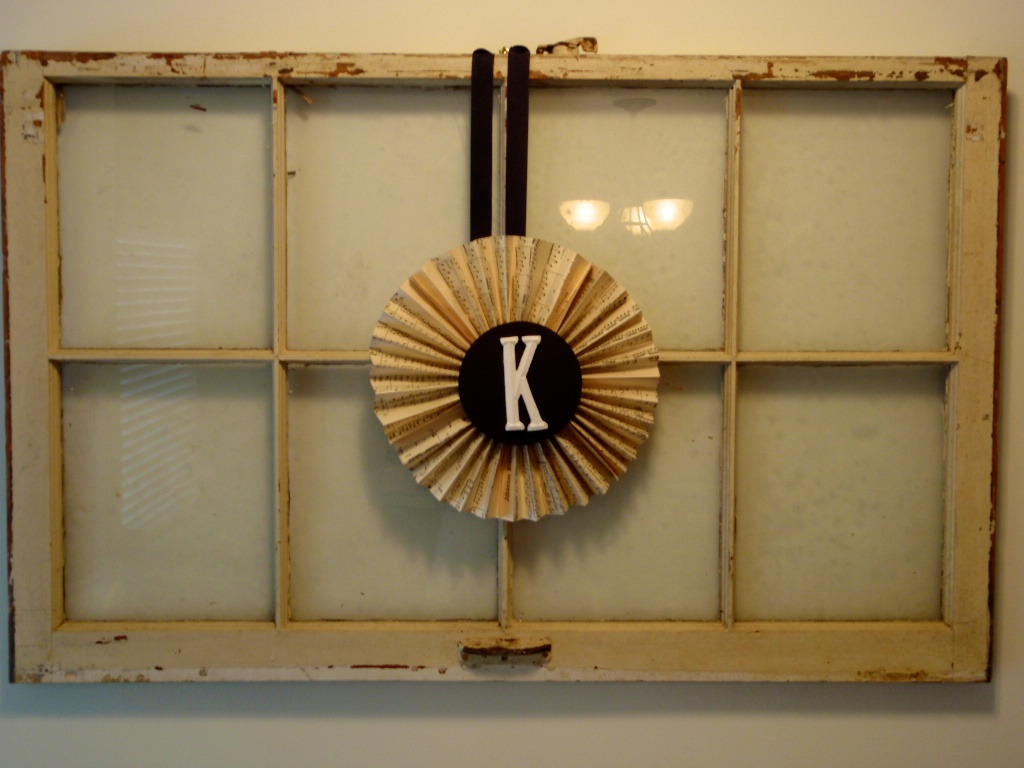
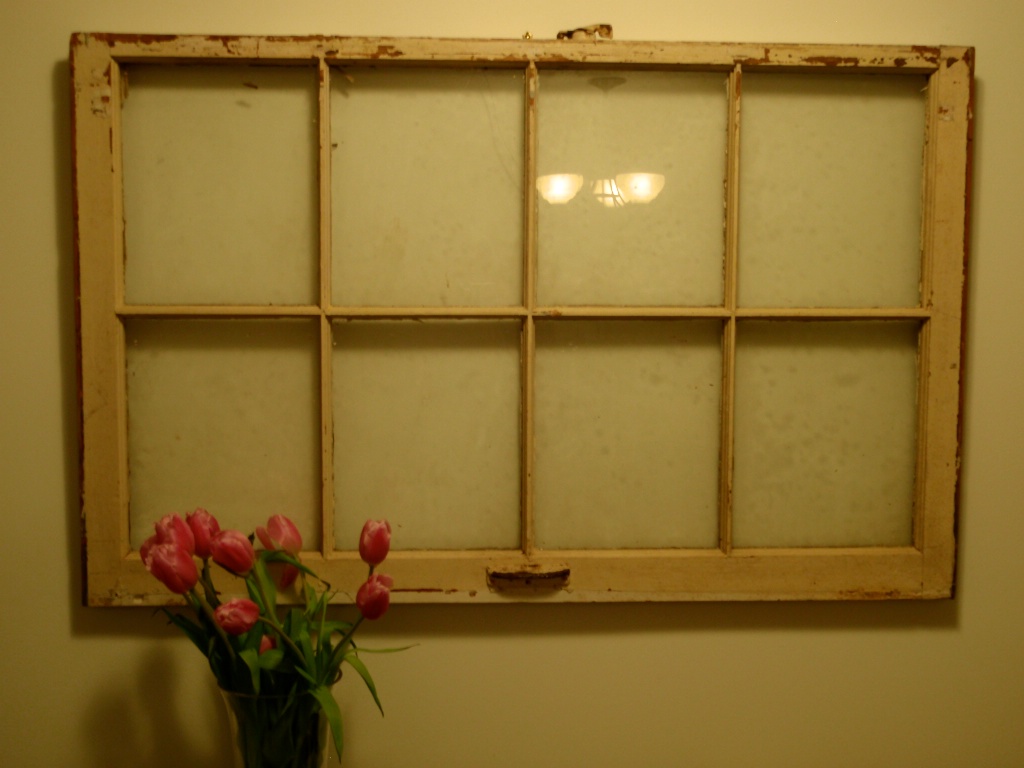
This week we focused on the entry way. I went antique shopping at this great antique mall near our house and found a fabulous old window! It needed to be cleaned a bit, but I think the chipping paint and scratches make it more authentic.
We hung the window in our entry way and it looked beautiful, but it needed something more. Here is the before picture with my Valentine's day flowers from Kris...love pink tulips!
I started thinking about about how I wanted to dress up our window and I remembered this super cute tutorial at one of my favorite blogs, Dear Lillie, and decided to do my own larger version of their fan medallion. To see their tutorial click here.
Here is my how I made the sheet music medallion above...
Supplies:
- 6 sheets of large sheet music (mine were about 11x14)
- 3-4 inch wooden letter from Michaels
- White acrylic paint
- Black card stock
- Circle cutter or scissors
- Glue or double sided tape
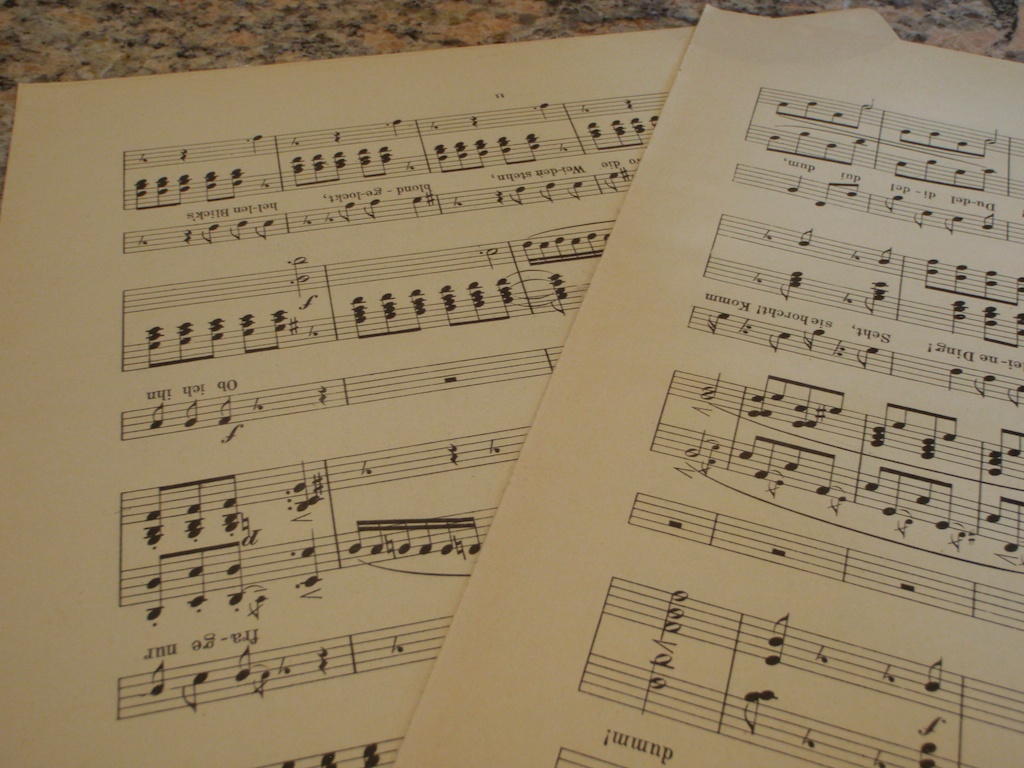
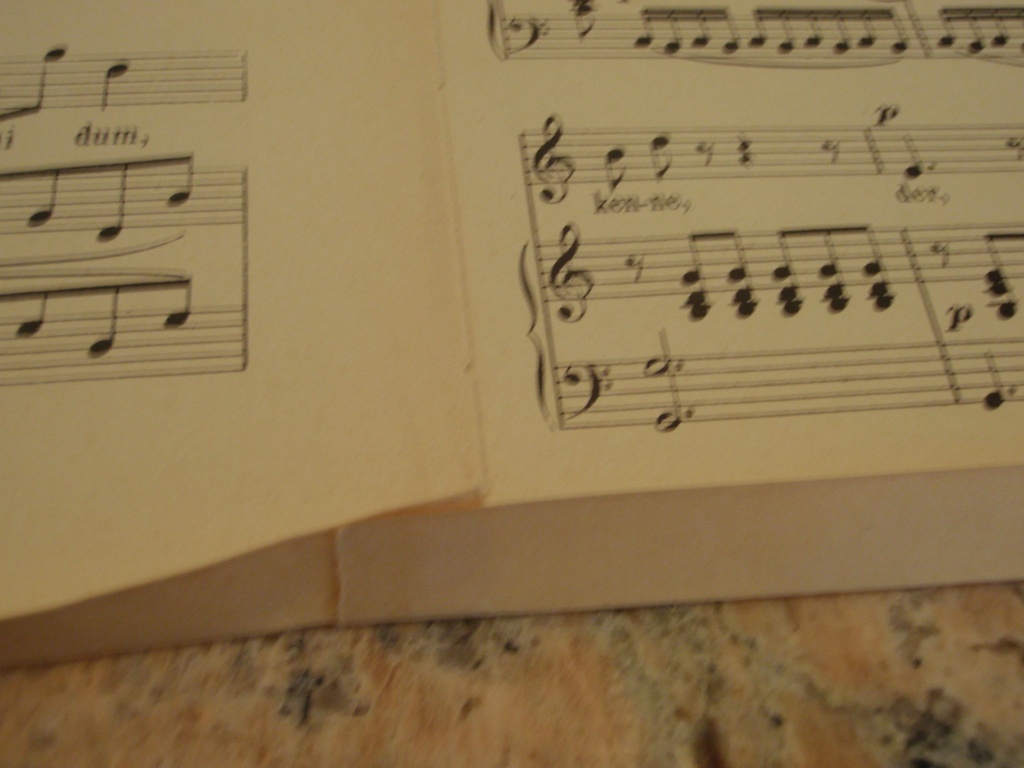
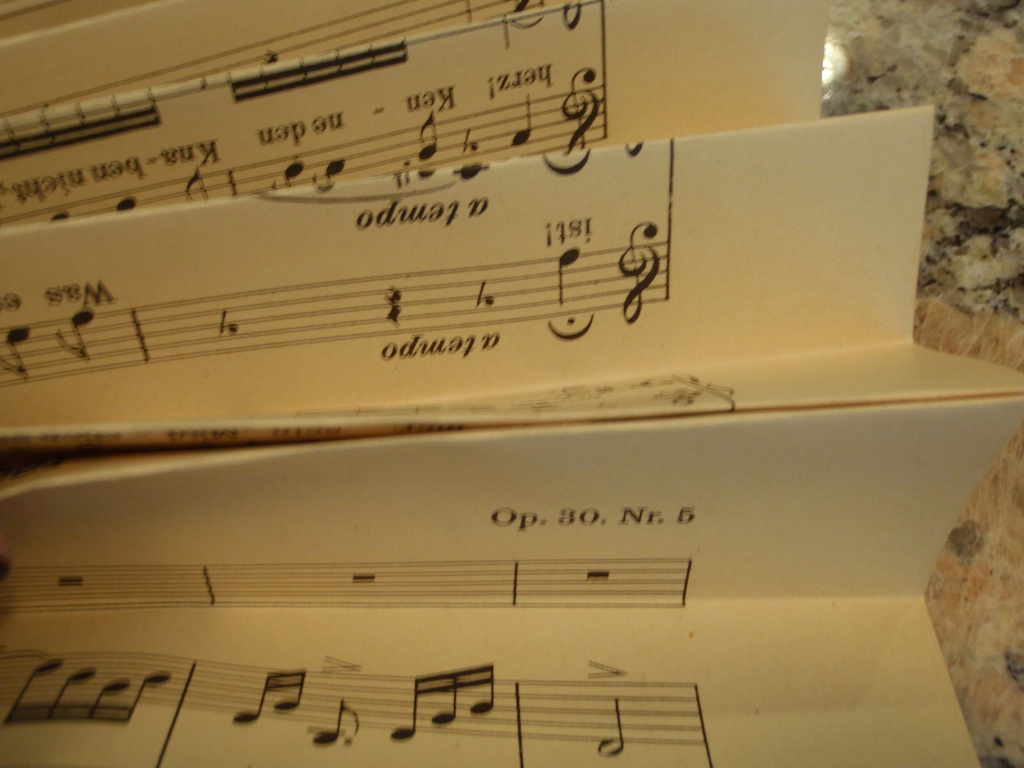
At the same antique store where I found the window, I got a huge book of large sheet music. Take two of your music sheets and glue or tape them together on the long side. I used hot glue because it dries so quickly.

Step 2
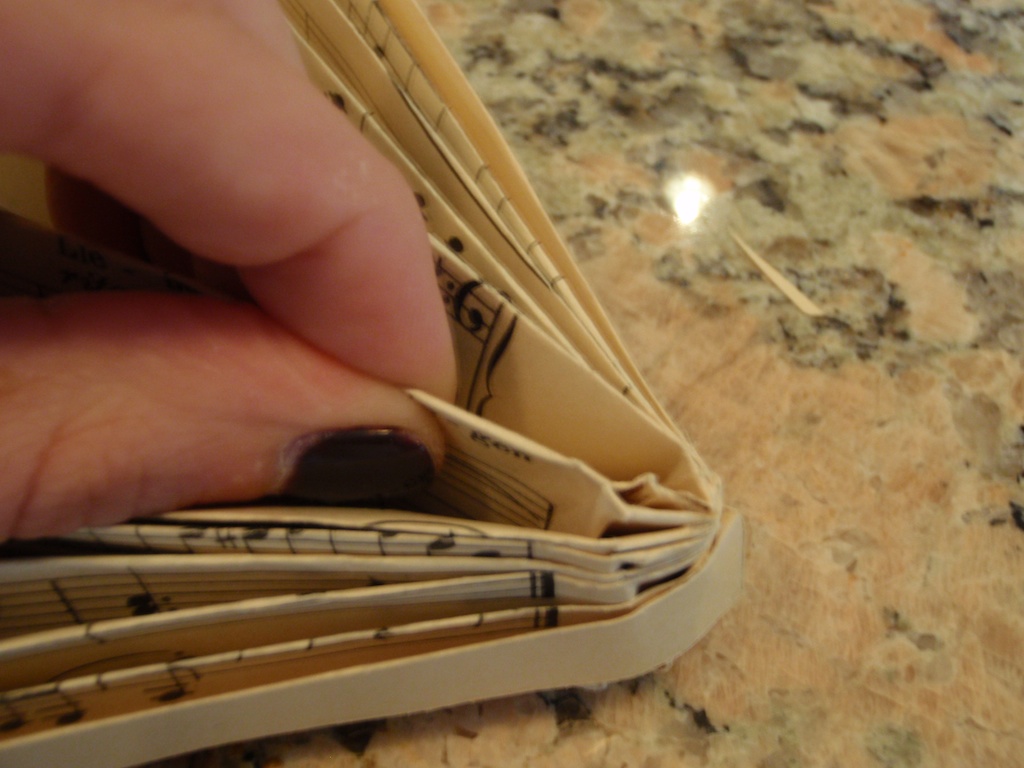
Begin to fold your two sheets of paper along the shorter side (your seam from gluing your music together should be vertical) in 1/2 inch folds. The paper should be folded in an accordion style and scored each time you fold it. I just used my finger and pressed firmly along the crease.
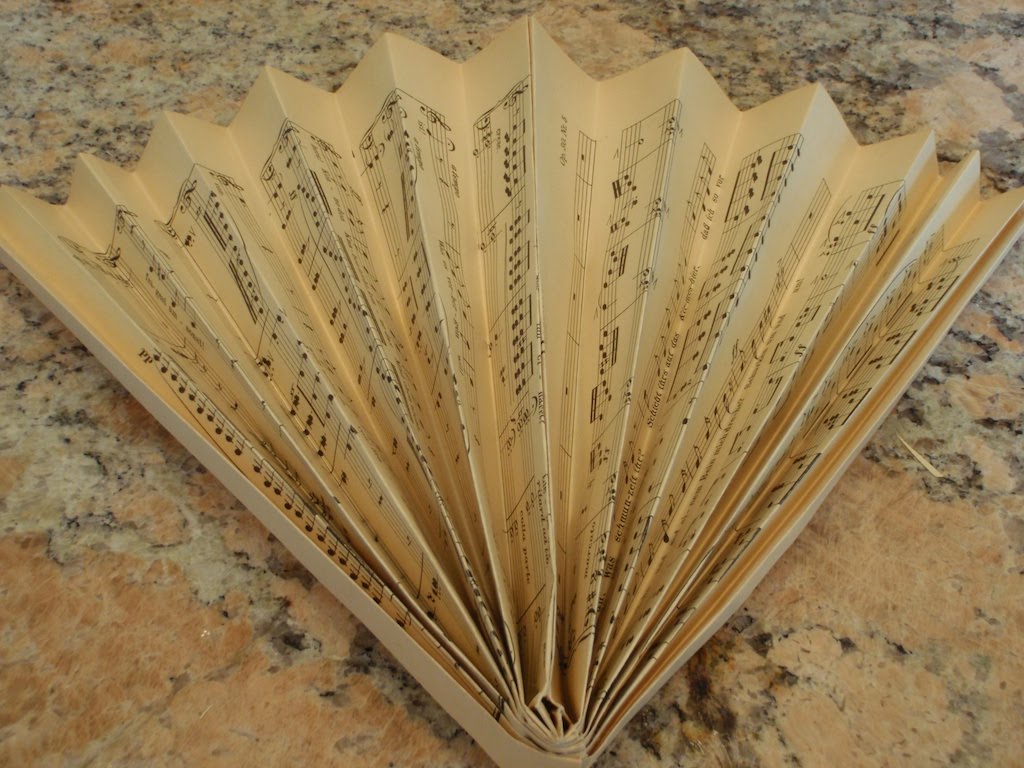
 Keep folding until you have folded the whole sheet and your paper looks like the below.
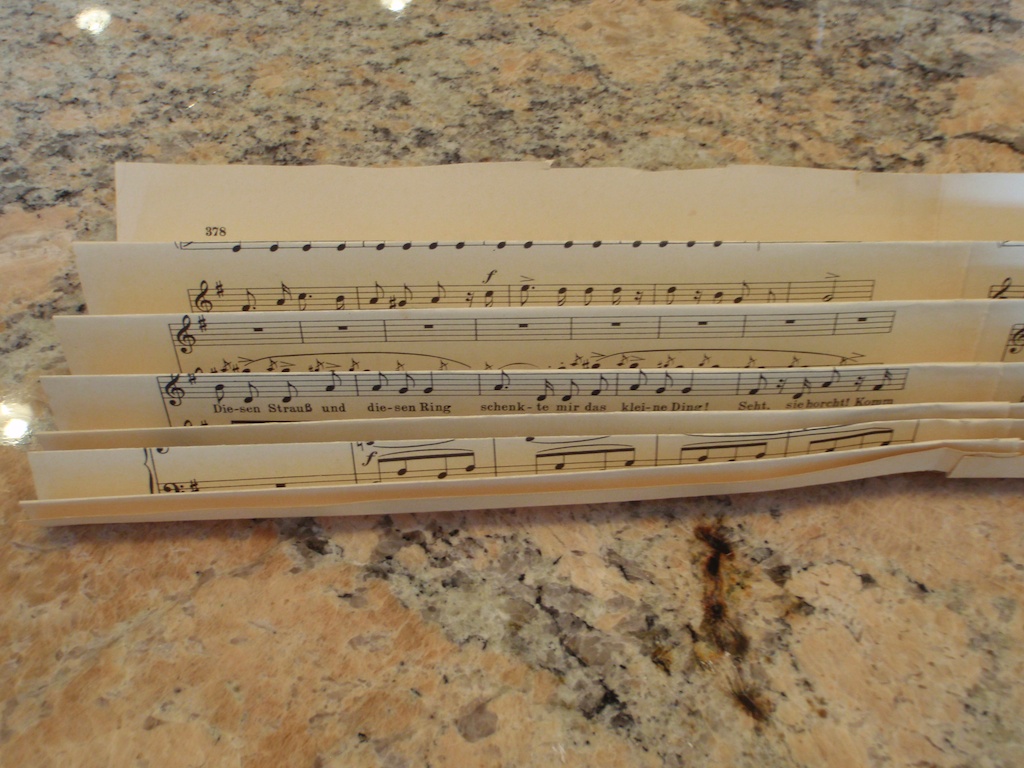
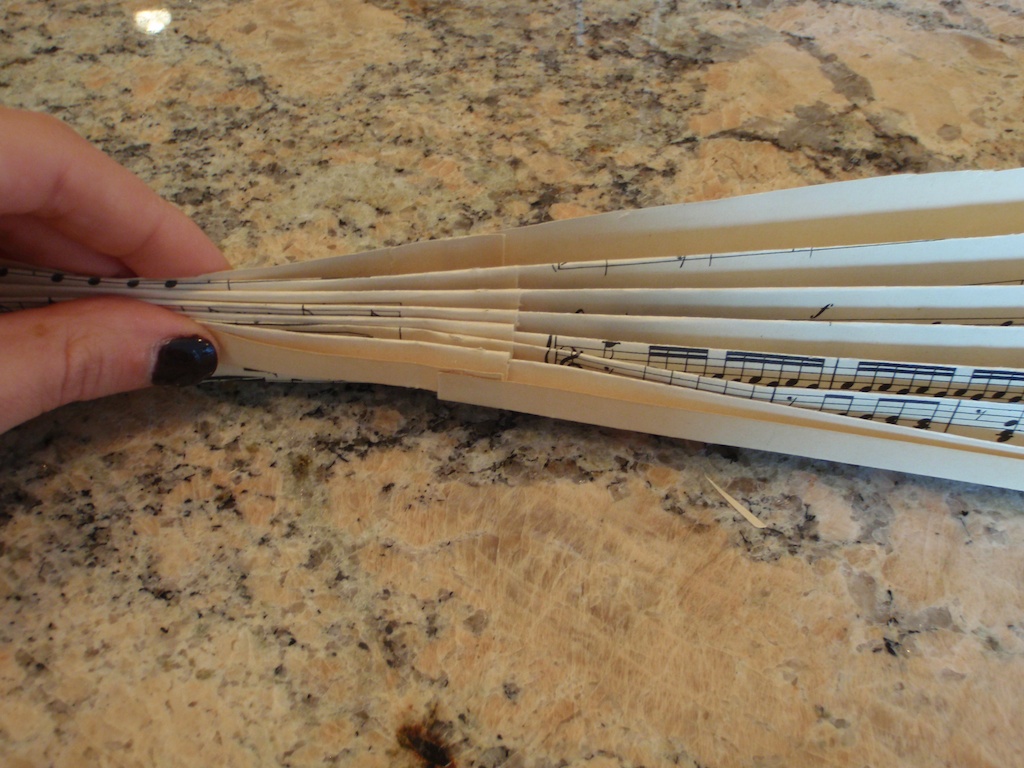
Step 3
Hold your paper together so the folds are pressed together. Fold the entire length of paper in half.

Step 4
Glue or tape the two folded sides to each other from the bottom of the fold to the top of the edge of the fan.
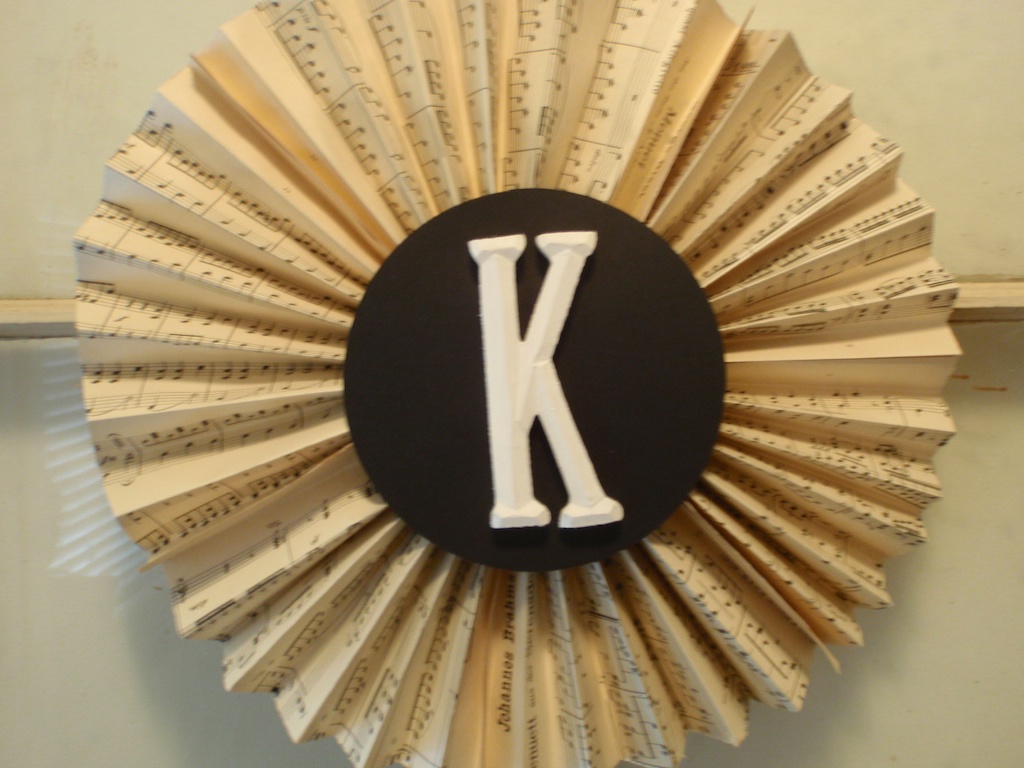
Step 5
Repeat this step three times to create three separate fans. Using your glue or tape attach them to each other to create a circle. Then cut a small circle from your card stock and paint your wooden letter your desired color. Glue the card stock on top of your circle fan and then glue your wooden letter once it has dried. Attach a ribbon loop to the back of your fan (I used hot glue to attach it). The finished product is below!
I hope you enjoyed my tutorial! I will be linking to these parties this week.
Tuesday's Treasures at My Uncommon Slice of Suburbia
Wow Us Wednesday at Savvy Southern Style
The DIY Project Parade at The DIY Show Off
I hope you have a fabulous Sunday! xoxo
Meggan
Strawberry Shortcake...Love!
12 February 2026
6:44 AM
I don't know about you, but strawberry shortcake is one of my favorite desserts! I love the sweetness of the strawberries and the richness of the cake mixed together - so delicious! I found this recipe by Ina Garten, The Barefoot Contessa, here yesterday and fell in love!
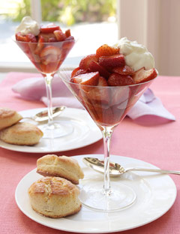 How fun would this be for a Valentine's date dessert or a summer/spring party?!

